Hosting .NET RESTful Engine on AWS EC2 (HTTP)
It is assumed that you already have an AWS account and have the correct credentials and permissions to launch EC2 instances in your Virtual Private Cloud (VPC). Although almost everything can be done from the AWS CLI, the context of these instructions will be the AWS Management Console. If you are unfamiliar with the VM setup process on AWS, follow the instructions here.
Setting It Up
All you need to do to allow HTTP communication with you RESTful engine hosted on AWS EC2 is to open the proper ports for your EC2 instance's Security Group. This can be done in two ways on the AWS Console:
You can set it when creating the VM:
- Get to
Step 6: Configure Security Groupin the EC2 Instance creation process - Make sure "Create a new security group" is selected.
- Then add the following rule. For Type, select HTTP:

- Get to
You can set it after the VM was created:
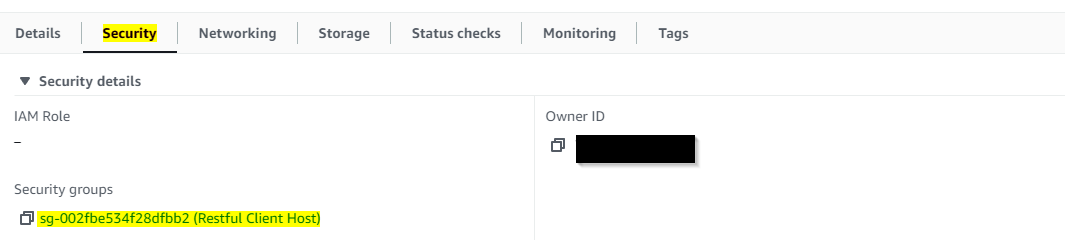
- Select your Instance in the EC2 Instances page on the AWS Console
- From the Instances page, find the security group in the details section and select it.
- At bottom of screen, select the
"Inbound rules"tab and then click the"Edit inbound rules"button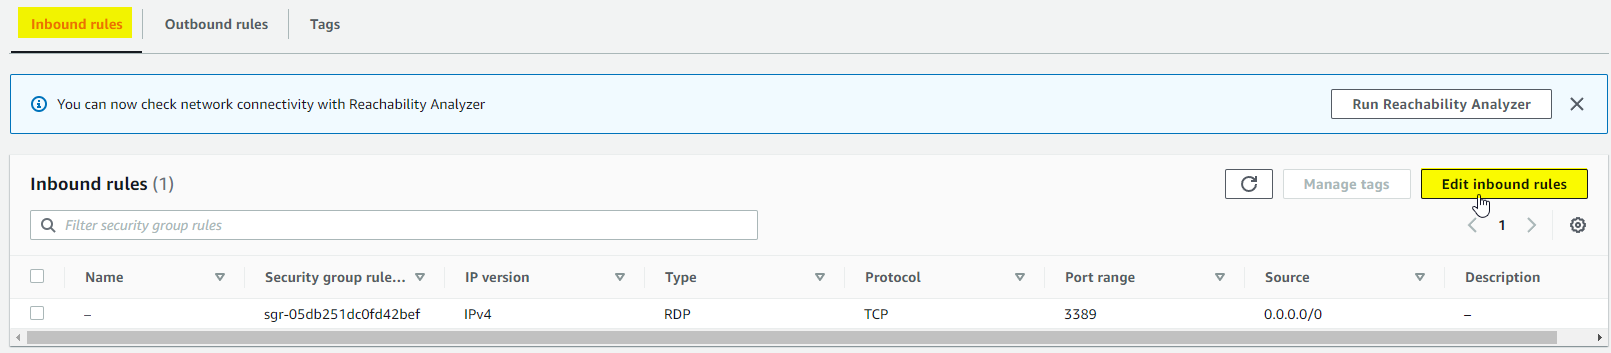
- Then add the following rules. For Type, select HTTP:
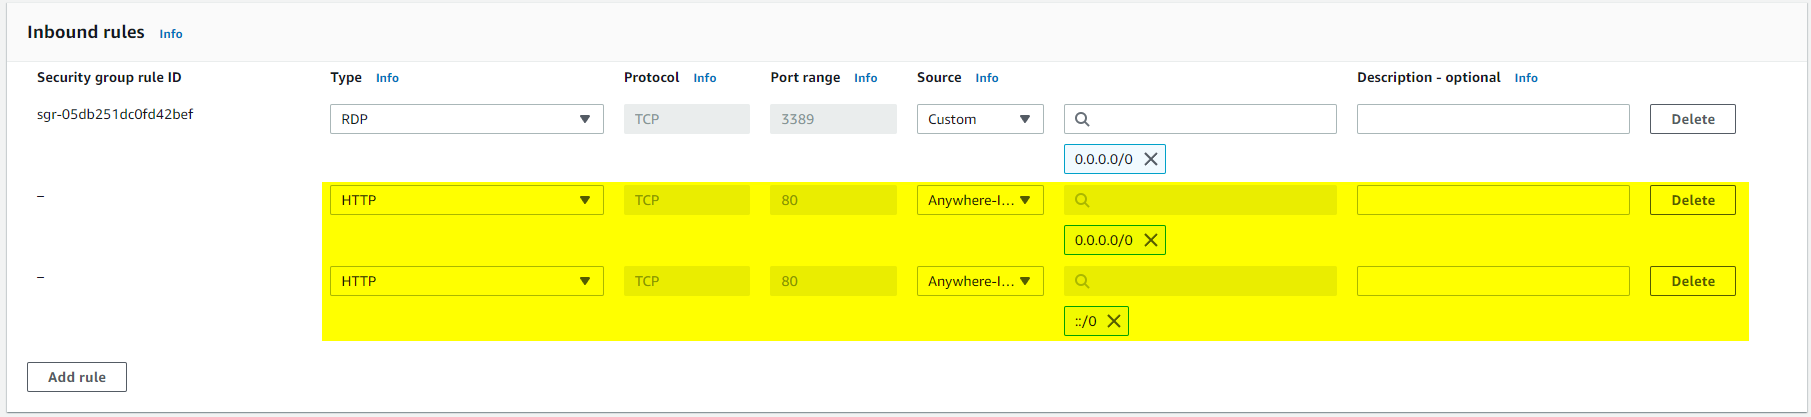 You will need to add two rules here, one with each of the following IP ranges (as seen in the picture above):
- 0.0.0/0
- ::/0
Setup the RESTful engine on your VM:
If you are using the .NET RESTful engine, make sure to set the RESTful Engine to port 80. If you did not set it to port 80 during setup, follow these steps:
Expand the Connections Treeview until you see the Default Web Site node in Internet Information Services (IIS) Manager
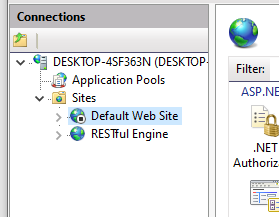
- Stop the default site.
Edit the bindings for the RESTful Engine by right clicking on the RESTful Engine website and click "Edit bindings"

In the window that pops up, select edit and set the port to 80
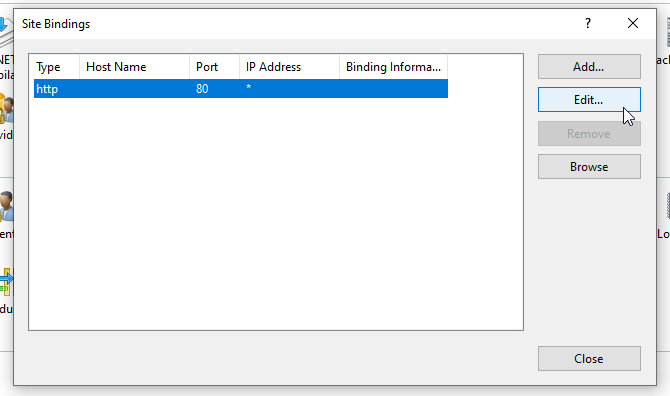
You may get a warning regarding another site using the port 80, select yes
